Showing posts with label Eclipse Widgets. Show all posts

Tuesday, June 17, 2014

How to configure Eclipse 4.3 to develop plugins for Notes 9.0.1 FP1 (Part 2)

In the second part of this series i will show how to create a launch configuration in Eclipse to run or debug Notes. In the launch configuration you can select which of your self developed plugins should be deployed to the launched Notes client. So you do not need features, an updatesite and widgets for your development. This allows rapid development. Before you start to create the launch configuration be sure that you have followed all steps from the first part of this series.

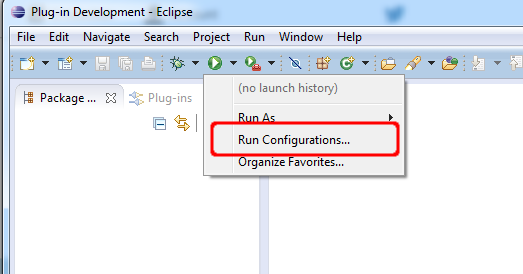
Open the "Run Configurations" Dialog from the drop down menu.


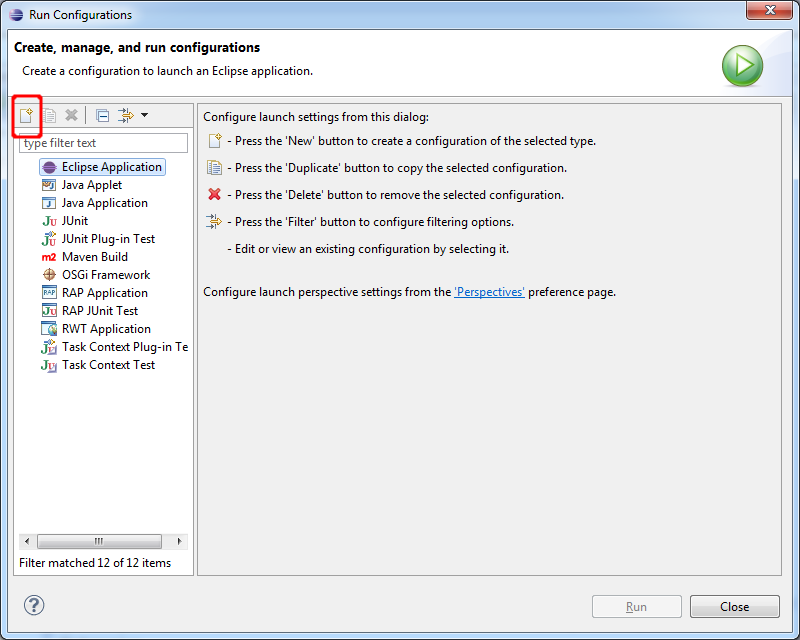
Select "Eclipse Application in the right sidebar and click the "New" Button.


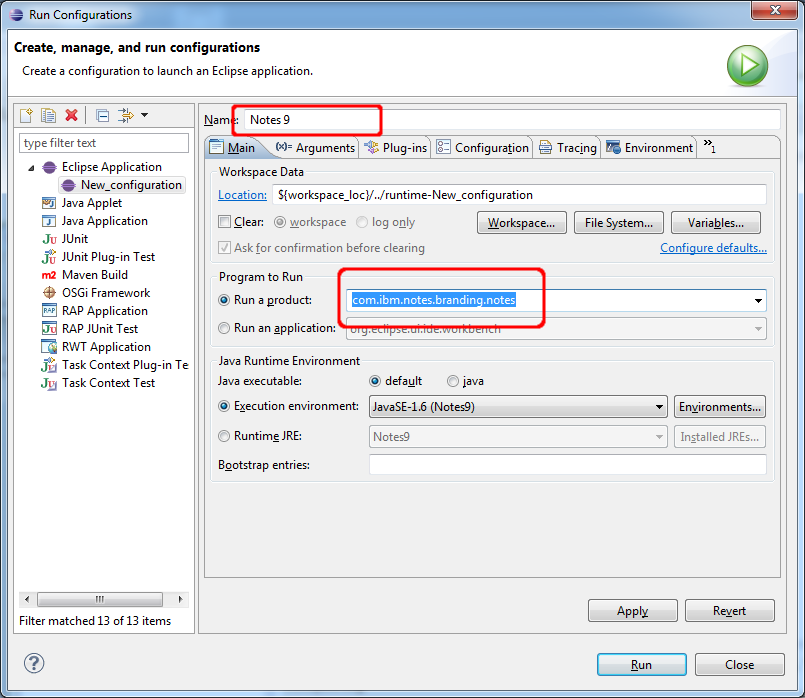
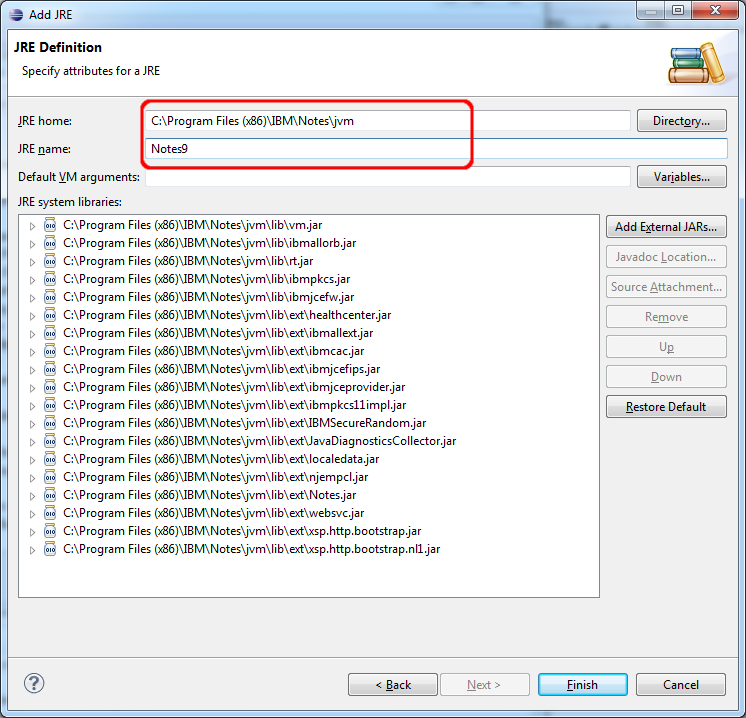
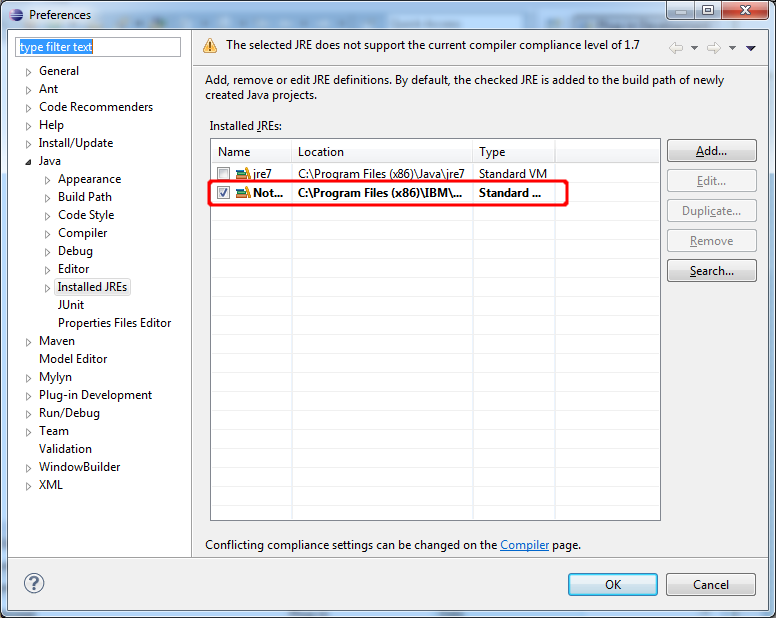
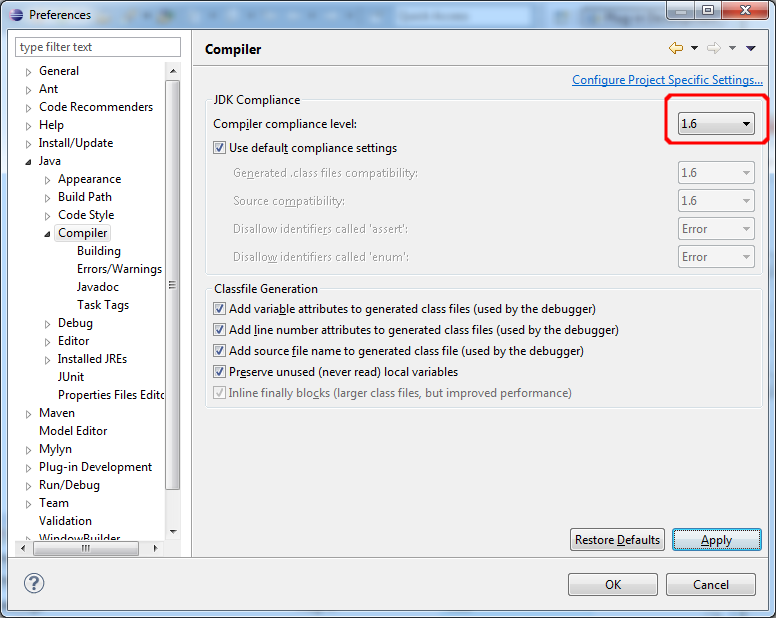
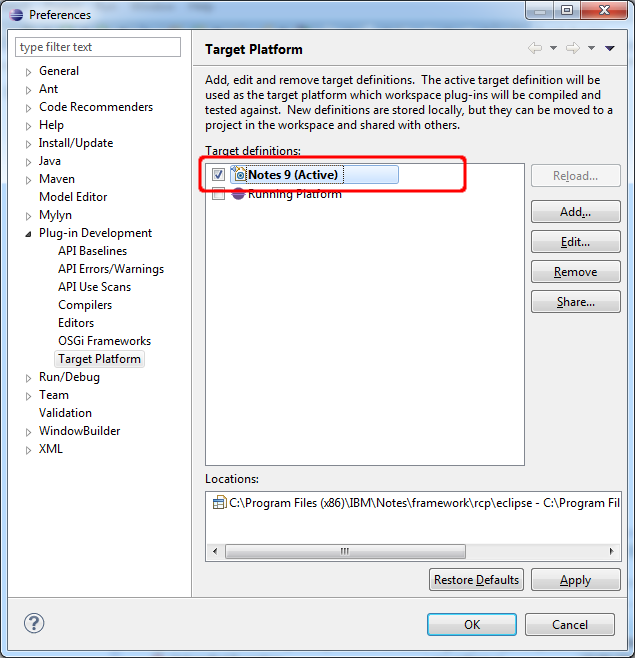
Change the Name of your newly created launch configuration to "Notes 9". Select "Run as a product" and choose "com.ibm.notes.branding.notes". Be sure that the Execution environment is the Notes JRE you defined in the first part of my tutorial.


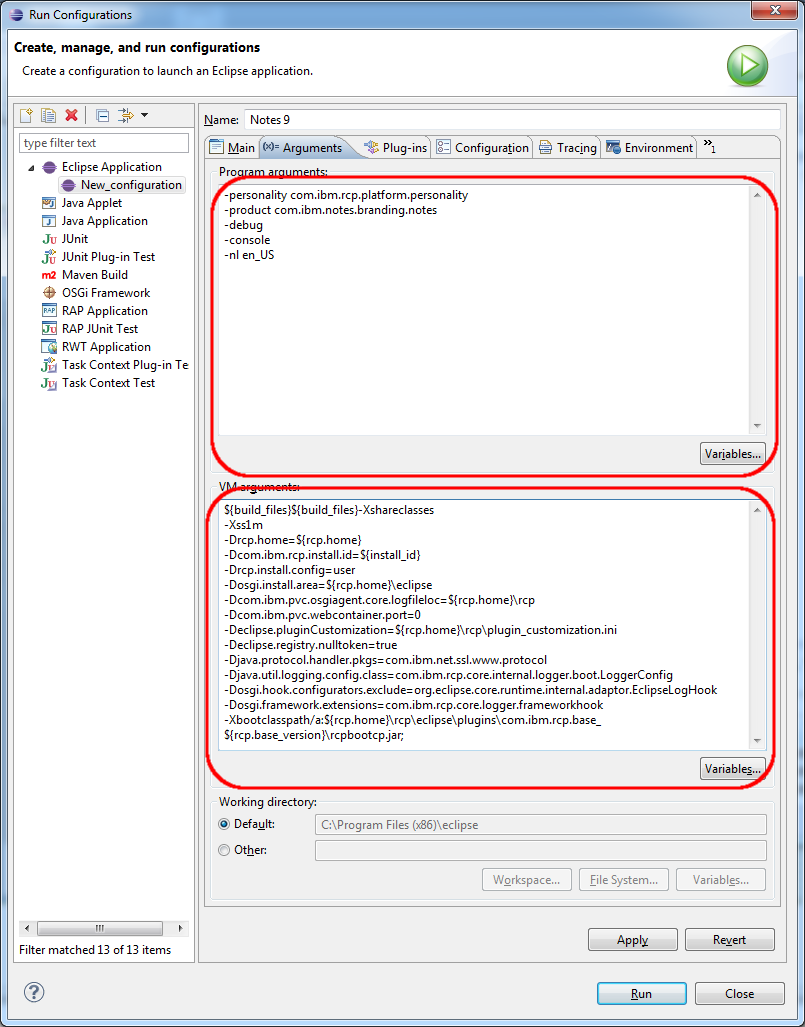
Go to the second tab "Arguments" and fill in the program arguments:

-personality com.ibm.rcp.platform.personality
-product com.ibm.notes.branding.notes
-debug
-console
-nl en_US


and the VM arguments:

${build_files}-Xshareclasses
-Xss1m
-Drcp.home=${rcp.home}
-Dcom.ibm.rcp.install.id=${install_id}
-Drcp.install.config=user
-Dosgi.install.area=${rcp.home}\eclipse
-Dcom.ibm.pvc.osgiagent.core.logfileloc=${rcp.home}\rcp
-Dcom.ibm.pvc.webcontainer.port=0
-Declipse.pluginCustomization=${rcp.home}\rcp\plugin_customization.ini
-Declipse.registry.nulltoken=true
-Djava.protocol.handler.pkgs=com.ibm.net.ssl.www.protocol
-Djava.util.logging.config.class=com.ibm.rcp.core.internal.logger.boot.LoggerConfig
-Dosgi.hook.configurators.exclude=org.eclipse.core.runtime.internal.adaptor.EclipseLogHook
-Dosgi.framework.extensions=com.ibm.rcp.core.logger.frameworkhook
-Xbootclasspath/a:${rcp.home}\rcp\eclipse\plugins\com.ibm.rcp.base_${rcp.base_version}\rcpbootcp.jar;


Then click on the "Variables" button and then on the "Edit Variables" Button to define the Variables we have used in the VM arguments.
 

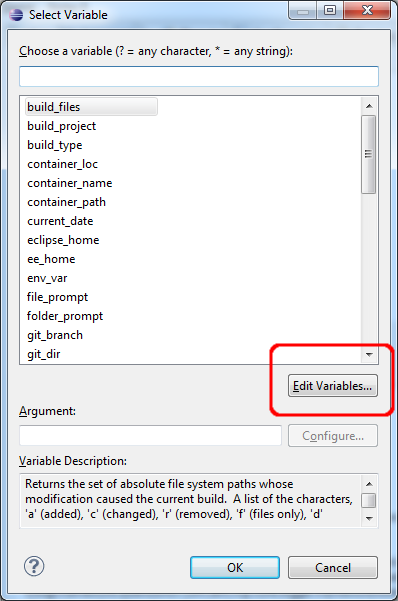
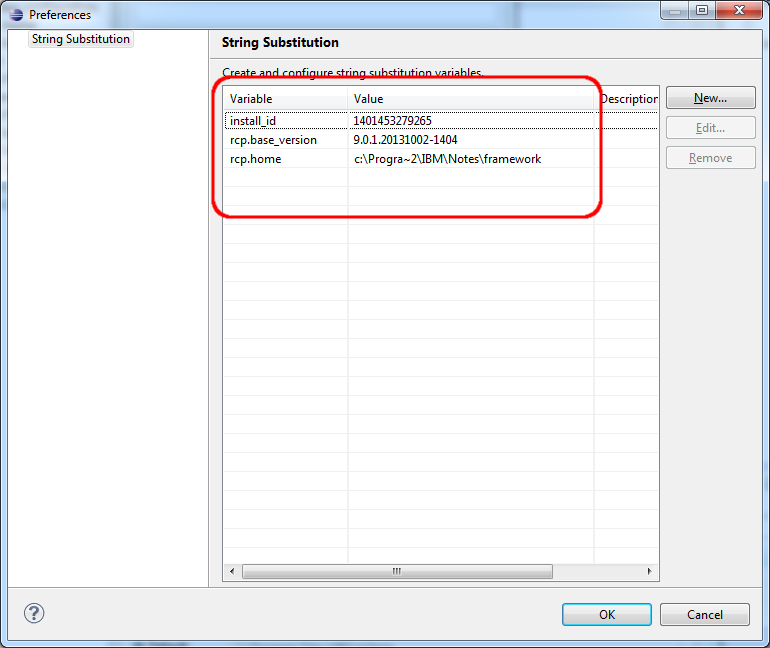
You can create the variables with the "New" button.

install_id=1401453279265
rcp.base_version=9.0.1.20131002-1404
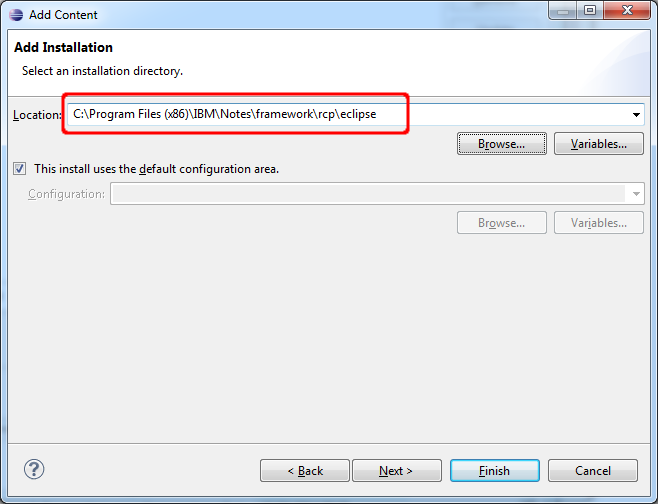
rcp.home=C:\Progra~2\IBM\Notes\framework

You have to adapt the rcp.home path with your notes path. But be careful that there are no blanks in the path. As you see in my example i have used the 8.3 format to avoid the blanks in C:\Programme (x86)".

Click "Ok" to leave the String Substitution dialog.
 

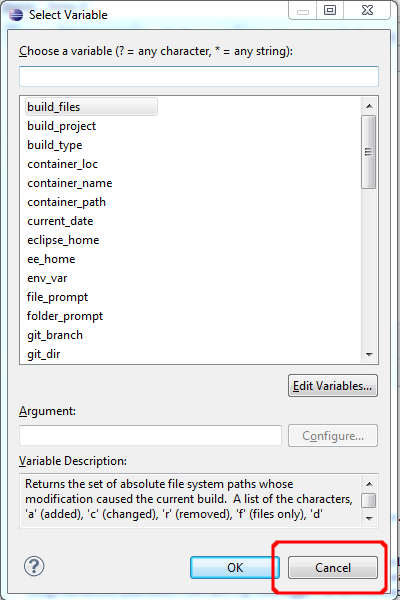
Attention: Close the "Select Variable" Dialog with "Cancel" and not with "Ok". When you select "Ok", the selected variable will be inserted in the VM Arguments and your launch config will not work.


Go to the "Configuration" tab and choose "Use an existing config file as a template". You can find the config.ini of your Notes installation in \framework\rcp\eclipse\plugins\com.ibm.rcp.base_9.0.1.20131002-1404\ in the Notes program directory.


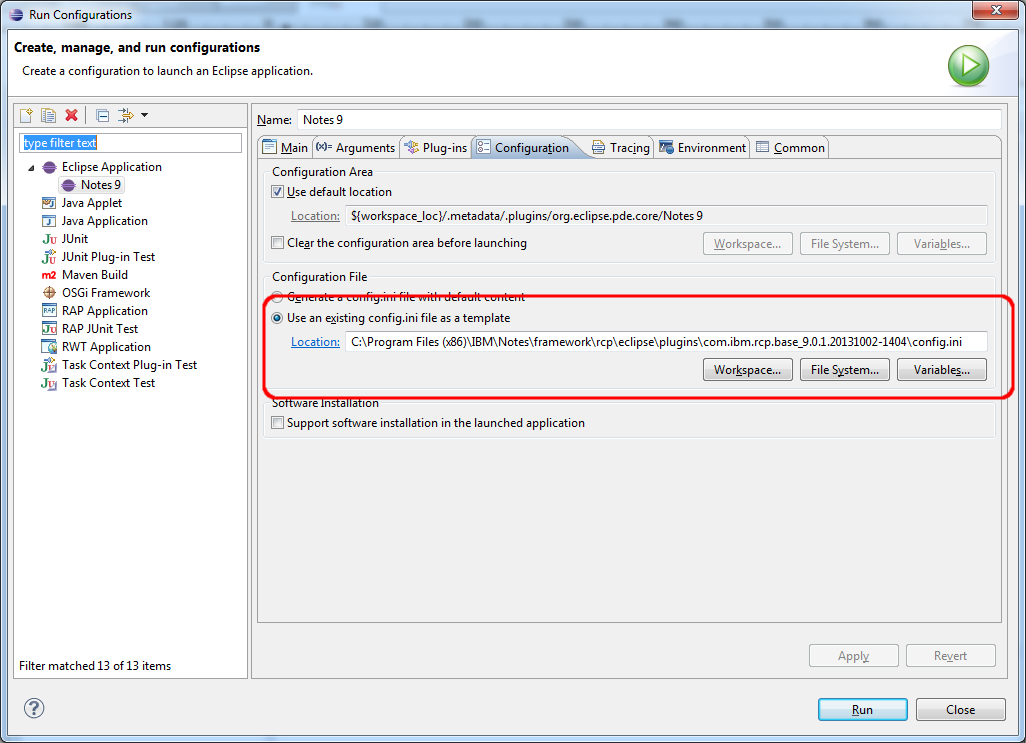
After applying your changes with the "Apply" button you can start notes with the launch button. Be sure that Notes is not already running, because the start of notes will fail if it is already running. All plugins in your workspace will be auto deployed to the launched Notes client. Leave a comment if it is not working for you.

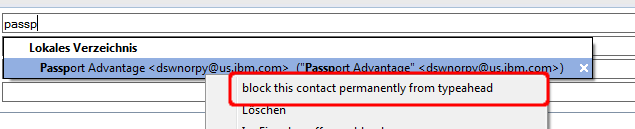
You are now ready to start extending the Notes client with your own extensions. In one of my next posts i will show how to write a plugin to block recent contacts permanently directly from the typeahaed function.


Sunday, June 15, 2014

How to configure Eclipse 4.3 to develop plugins for Notes 9.0.1 FP1 (Part 1)

Our Domino Admin has updated our Notes/Domino servers to Domino 9.0.1 FP1. So i have to update my plugin development environment to 9.0.1 FP1 too. In today's post i want to show what's to change in the eclipse preferences to extend the Notes client with your own functionality. I assume that you have already installed Eclipse 4.3 or above and Notes 9.0.1 FP1. 

Start your Eclipse and choose a new workspace for your first steps in Notes plugin development.

Open the Eclipse preferences window and select "Java->Installed JREs" from the selection tree. Click "Add" to add the Notes JRE to the installed JRE's Notes will only run with his own JRE.


Select Standard VM as the JRE type.


Choose the base folder of the Notes JRE and Name the new JRE "Notes9". The JRE of Notes is in the jvm folder in your Notes Base directory. The JRE system libraries are added automatically when you choose the JRE home directory. Click Finish.


Check the new JRE to make your newly added JRE the default JRE. 


To solve the warning that the compiler compliance settings are not correct for this JRE, go to "Java->Compiler" and change the JDK Compliance from 1.7 to 1.6.


Now we need to add Notes as a target platform. The target platform tells Eclipse which plugins you can use or extend for your development. Click add to start the process. 


 Start with and empty target definition and click next.


Name your new target definition "Notes 9" and click add to add a new plugin location to your definition.


Select that you want to add an installation and click next.


Add the "framework\rcp\eclipse" path in your Notes program directory to the location. and click "Finish"


Approximately 2034 plugins (Notes client, Designer) should have been added to your definition.Click finish.


Change the target patform to the newly created definition and close the Preferences Dialog with "OK"


Your Eclipse workspace is now ready to develop plugins for the Notes client. In the next post in this series i will show you how to create a run config to start the Notes client from inside of eclipse to easily debug your plugins.

Do not miss Part 2 of this series.

Tuesday, June 18, 2013

Easy way to get the Url of an update site in Notes

If you want to create a new widget from a feature in an update site you can either type in the url of the update site in the new widget dialog manually (ServerName/ReplicaID/site.xml).


ad