If you do not have java and eclipse skills, you can try my tutorial Add your own Shortcuts to the Masthead without java or eclipse knowledge instead of this.
First of all you need an eclipse installation configured for notes development. If you need help read my tutorial How to configure Eclipse 4.3 to develop plugins for Notes Part 1 and Part2.
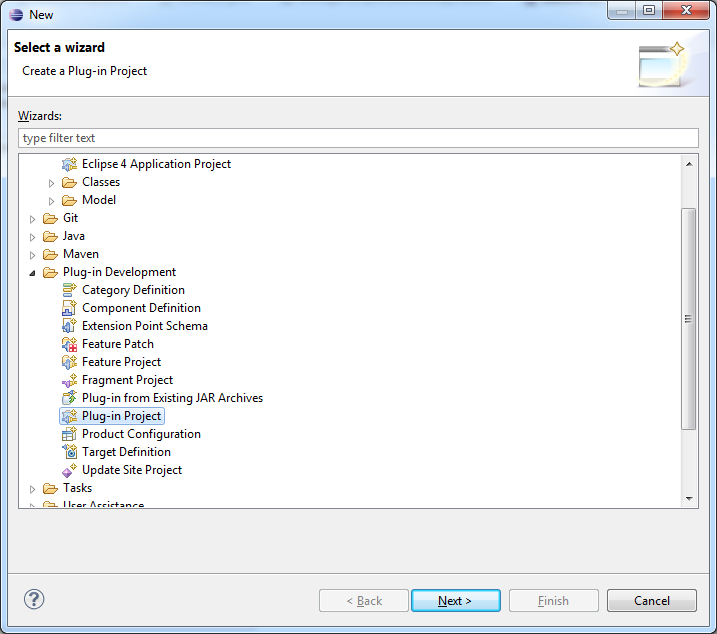
Create a new Plug-in Project with File->New->Other
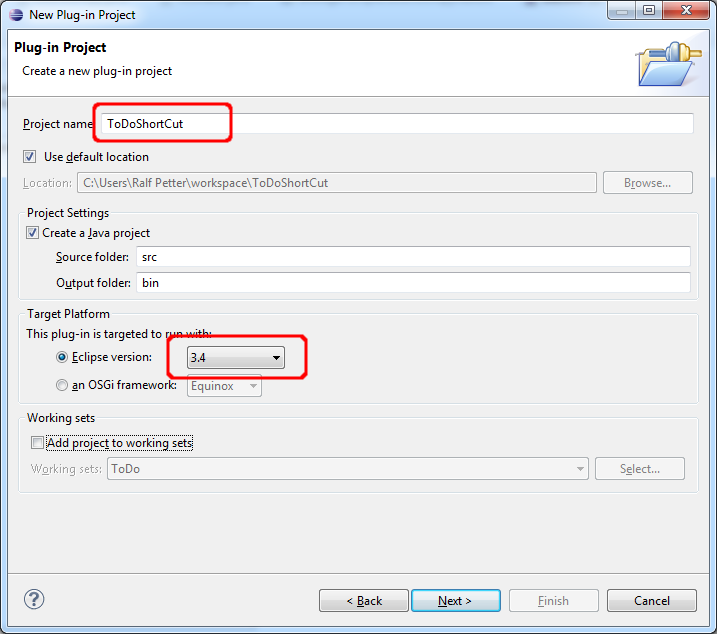
Choose a name for your project and select Eclipse version 3.4 as the target to run.
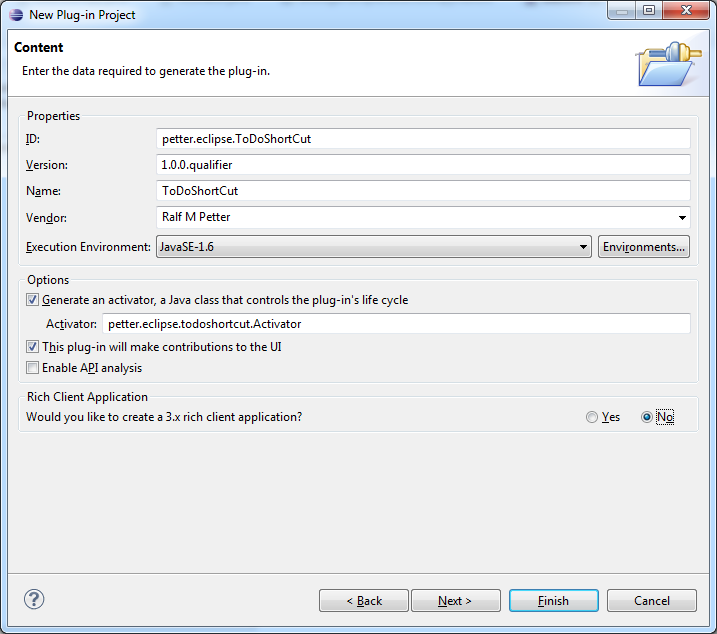
Go to the next page of the wizard and fill out the form.
ID: Must be a unique id of your plugin. It is recommended that you have your name or your company name in the id to avoid id collisions. For example if you choose only "Todo" as your id you will get a big problem if you install a widget in notes which uses "Todo" as the id too.
Version: It is very important that the version number is different every time you rebuild your plugin. If you change something in your plugin and deploy it to a client which already have a plugin with the same version number, that plugin will not be updated to the new version. This are very difficult to find problem. So my recommendation add ".qualifier" to the version number. Eclipse will add the date and time to the version number so that you have a new version number when you rebuild your plugin.
Activator: Tell Eclipse in which java package the Activator (controls the plugin's life cycle) should be created. It is good practice to create alle classes of a plugin in a package named similar to the id of the plugin.
Check the "This plugin will make contributions to the UI" and choose that you do not want to create a rich client application.
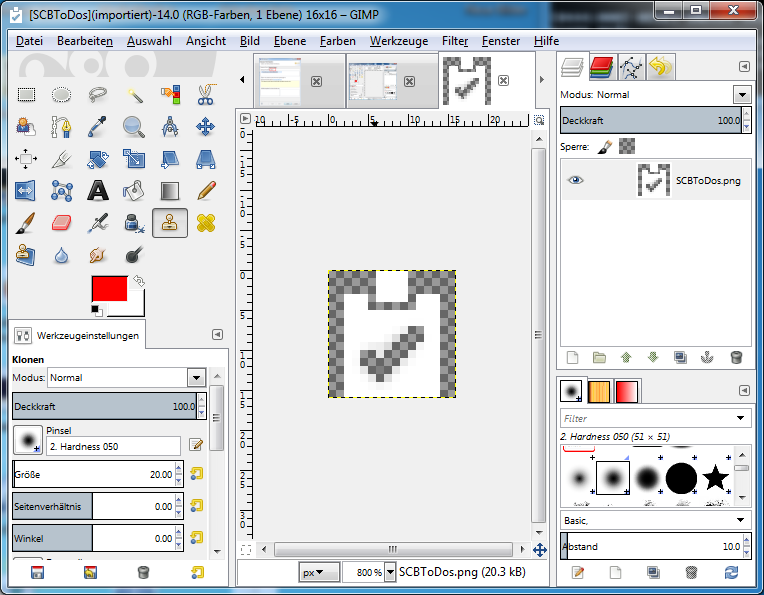
Create an icon for your new custom action in the Masthead in your favorite image editor. The image should be 16x16 pixel and exported as a PNG. My recommendation is to use Gimp for this task.
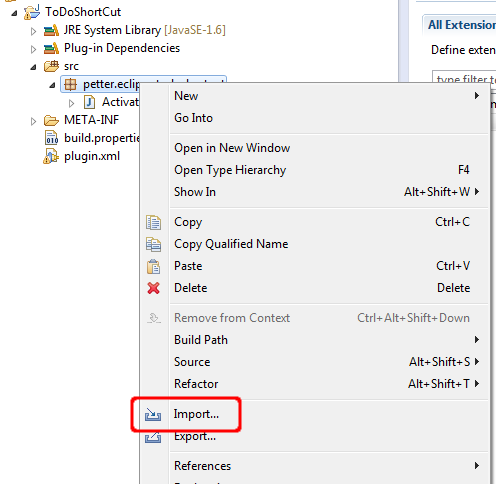
Right click your package in the Package Explorer and select import to put your icon in your plugin.
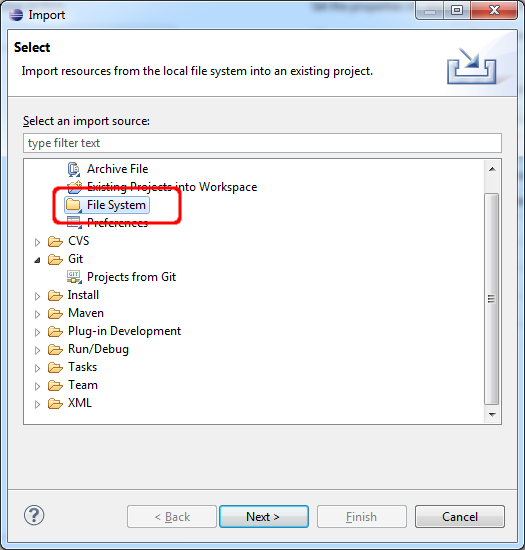
Choose File System as your input source.
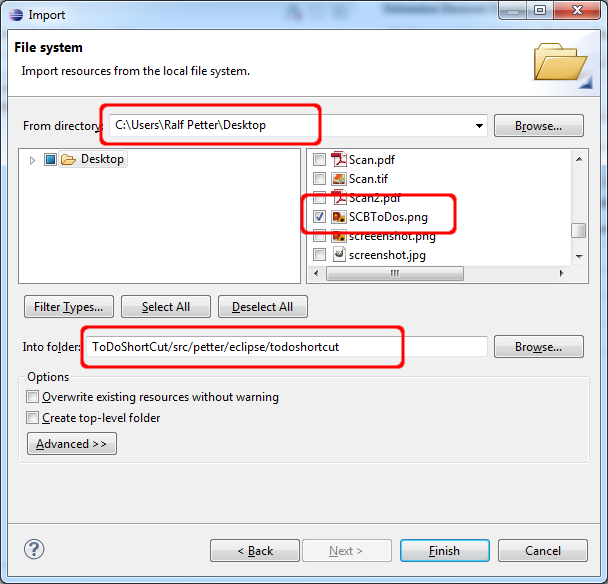
Select the directory in which you exported your icon from Gimp. Check the icon in the file browser and have a look whether you have chosen the correct "Into Folder".
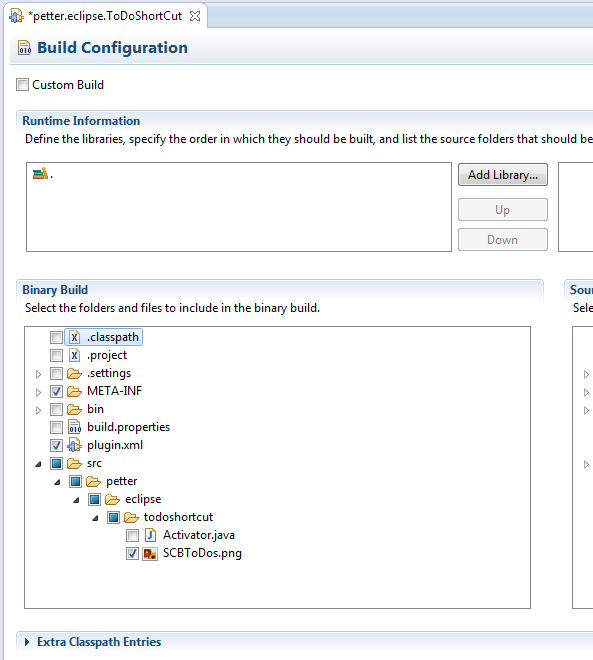
Double click the build.properties in your plugin and select your icon in the binary build path. This is a very important step, because normally the content of the src folder will not be exported when you build your plugin. So if you do not tell eclipse about your images in the build configuration you will have only a red dot instead of your beautiful icon. Save and close the build configuration.
No comments:
Post a Comment